Currency
Settings
Category
Settings
Language
Settings
Format
Settings
Method
of payment Settings
Stock
type Settings
Rent
X Get Y Free Settings
Special
Prize day Settings
Address
and phone Settings
Closing
day Settings
Edit
membership form Settings
Edit
E Mail information Settings
Insurance
Settings
Rental
rates Settings
Rewind
charge Settings
Rental
tax Settings
New
user Settings
Modify
user Settings
Delete
user Settings
Add/Remove
Misc item Settings
Add/Remove
Misc rental item Settings
Delete
old data Settings
Default
Settings
General
Settings Page
Preferences
Page
Print
settings Page
Setup
wizard Settings
Currency Settings
To setup the currency symbol. The currency symbol should not be greater
than 3 characters.
The currency screen is as shown in Fig 6.
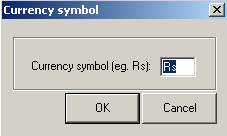
Fig 6.
Currency Symbol
Category Settings
This
menu adds video categories. Provision is there for deleting the added
fields from the database. When the OK button is clicked the contents shown
in the list will be updated to the database.
Category Settings Screen is shown in Fig 7.
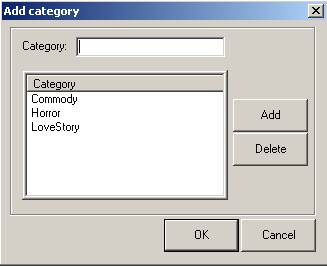
Fig 7. Add Category
Language Settings
This menu helps us to add videos in
different languages. Provision is there for deleting the added fields from the
database. When the OK button is clicked, the contents shown in the list will be
updated to the database.
Language Settings Screen is shown in Fig 8.
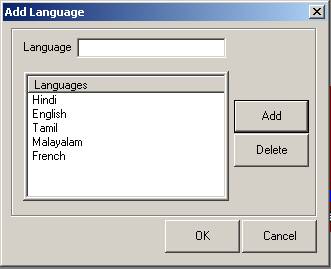
Fig 8. Add
Language
Format Settings
This menu adds Video formats. Provision is there
for deleting the added fields from the database. When the OK button is clicked,
the contents shown in the list will be updated to the database.
Format Settings Screen is shown in Fig 9.
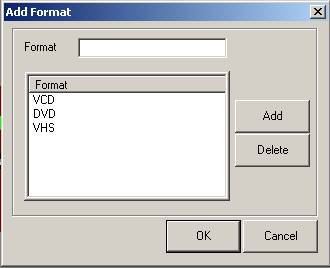
Fig 9. Add
Format
Method of payment Settings
This menu adds payment methods. Provision is there
for deleting the added fields from the database. When the OK button is clicked,
the contents of the list will be updated to the database.
Method of payment Settings Screen is shown in Fig
10.
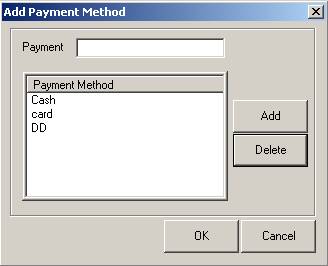
Fig10. Add Method of Payment
Stock type Settings
This menu adds stock types for different stock
item. Provision is there for deleting the added fields from the database. When
the OK button is clicked, the contents of the list will be updated to the
database.
Stock type Settings Screen is shown in Fig 11.
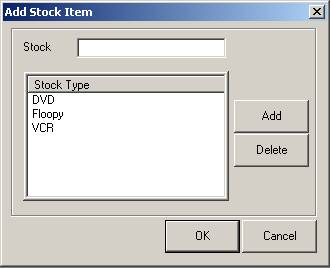
Fig11. Add
Stock Type
Rent X Get Y Free Settings
Here we can rent a customer X videos and the customer
is offered Y free. Provision is also there to disable this offer. Rent X
Get Y Free Settings screen is as shown in the Fig 12.
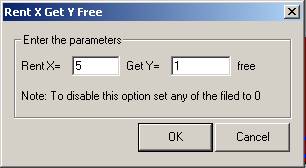
Fig12. Rent
X Get Y Free
Special Price day Settings
Here in
this menu, we can set the special rate for videos in a particular day. That is
we can set 50% off for videos, 150% of the video Rate etc. Special Rate
settings is as shown in the Fig 13.
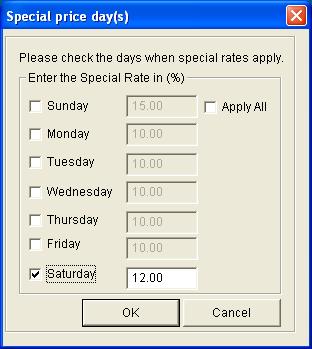
Fig13. Special Price days
Address and Phone Settings
Here we can set the address and other details about the Video
Shop. This information is used by the software for printing the receipts header
and E-mailing the owner details to the Customer. A sample entry is as shown
inFig14.
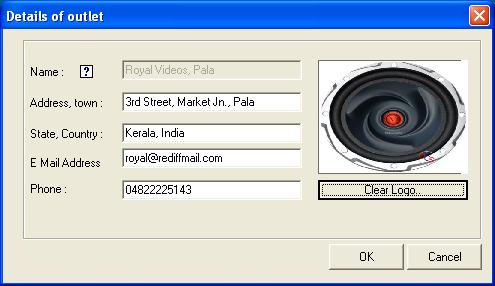
Fig14. Address and Phone Number
Closing day Settings
Here we can set the closing day settings. This information
will be used to set the closing day details when printing receipts. Please note
that this details is not used for any video rental
specific calculations. The closing day dialog box is as shown in Fig 15.
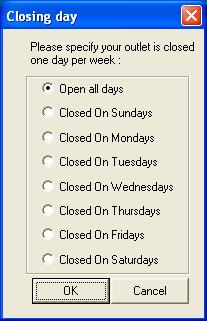
Fig15.
Closing Day
Edit
membership form Settings
Here we can set the membership form template. This information
will be appended to the customers membership form while displaying and printing
the customer membership form details. Membership form dialog is as shown in Fig
16.
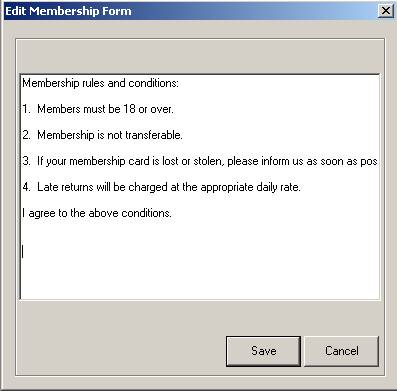
Fig16. Edit
Membership Form
Edit E- mail information Settings
This information is the content of the E- mail. Depending on
the subject, the content matter will change from time to time. Signature
identifies the person who send the E-mail (usually the owner name and shop
name). E- mail information dialog is as shown in the fig 17.
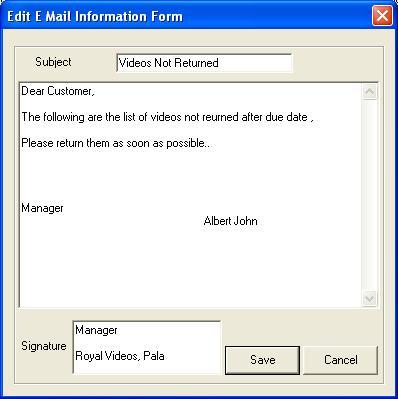
Fig17. E-
mail Info
Insurance Settings
You can add insurance to the rental item. The
insurance charge will be the specified percentage of the rental item. You can
disable the insurance item by setting the field to 0. Insurance dialog
box will be as shown in the Fig 18.
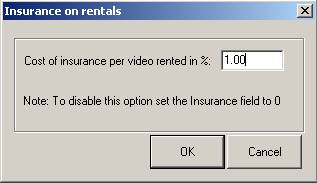
Fig18.
Insurance On Rentals
Rental rates Settings
In this dialog box we can give the rental
rates. Rates are classified as Rate A, Rate B, Rate C and Rate D. The owner of
the Video Library can choose the meaning of the rates (eg Most recent, Old
etc.). Up to seven days we can specify the rental rates for each Rate type and
for each media format. After the specified days all the late returns will be
charged late fee for each day in addition to the specified day charge. If the
charges are all the same for each days, set the 1 Day charge for all the other
fields. The checkbox “Apply 1 Day Rate to All fields” can be
used when 1Day charge is the same as all days as well as for all rates. The
Late charge for each rate type and for each format can also be specified. “Apply
Late Rate to All” is used specifically when late charge for all
Rate Types is the same. Similarly reservation
charge for each rate type and for each format can also be specified.
When the option ” Validate All The Fields” is enabled, it checks for
the validity of the fields such as N day rate should be greater
than or equal to N-1 day rates. Fig 19 shows Rental rates dialog
box.
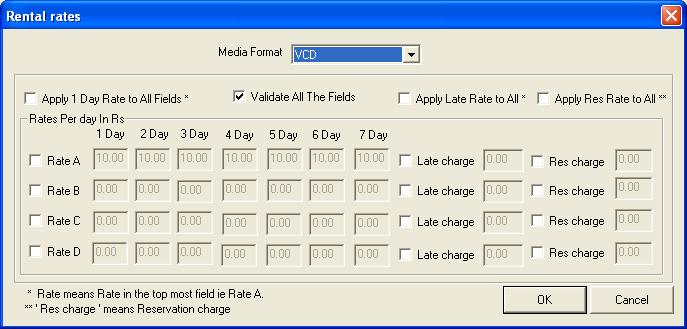
Fig19. Rental rates dialog
Rewind charge Settings
You can charge for rewinding the Cassette item.
The rewind charge will be specified in the currency of the owners choice
usually the country currency. Fig
20 shows the Rewind charge dialog box.
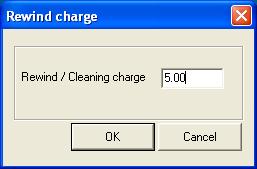
Fig 20.
Rewind Charge Dialog
Rental tax Settings
Here in this menu you can specify the rental tax
details. You can specify up to two types of rental taxes. Provision is there
for not specifying any taxes. All the settings specified here will be
automatically taken into account while renting the Video item. Fig 21 shows the
Rental tax settings.
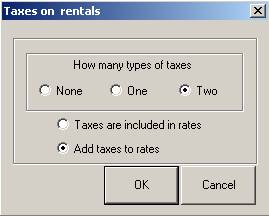
Fig 21.
Rental Tax Dialog
New user Settings
Here the administrator or a user having
administrator rights can add a user. Provision is also there for setting
various permissions such as modifying the setup, printing the reports, viewing
the reports etc. Fig 22 shows the New user dialog box.
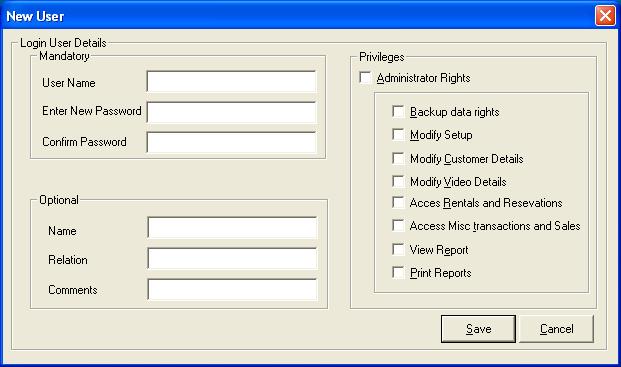
Fig 22. New User Dialog
Modify user Settings
Here the administrator can modify the user name ,
password , rights etc. When the user clicks the modify user settings, a dialog
box will be provided as shown in Fig 23 which contains the List of all users.
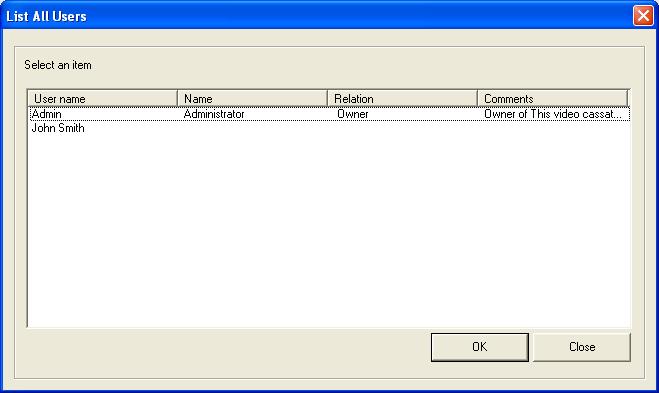
Fig 23. List Users Dialog
Click
on the specific user whose settings has to be changed and then click OK.
Another dialog box will appear as shown in Fig 24. Change the settings and
click Save.

Fig 24. Modify User Dialog
Delete User Settings
Delete User: Here the administrator can
delete the user. All the details of the user will be deleted. After selecting
the user, click OK to get the Delete User screen which is shown in the Fig 25.
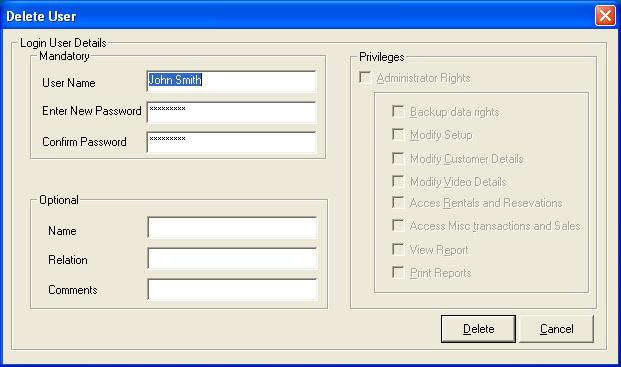
Fig25.
Delete User Dialog
Add/Remove Misc item Settings
Here the owner can add miscellaneous items which
is specific to his video library. This include income item , expense item ,
asset item, liability item etc. Some examples are Video To VCD conversion , VCD
Cleaning etc. Add Misc Item screen is as shown in Fig 26.
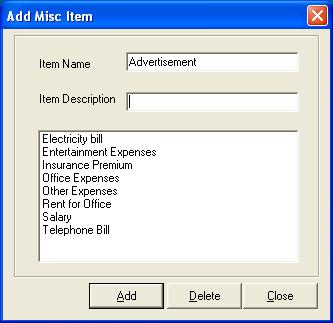
Fig26. Add
Misc Item
Add/Remove Misc Rental Item Settings
Here the owner can add miscellaneous rental items
which is specific to his video library. This include rental items such as
Generator, Video Camera, VCR etc. Add Misc Rental Item screen is as shown in
Fig 27
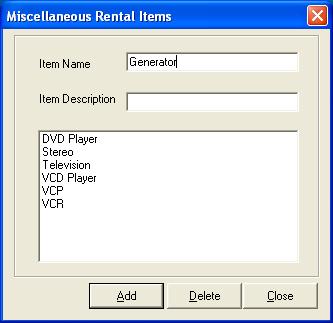
Fig27.
Add Misc Rental Item
Delete old data Settings
This will delete the old data before the date
specified. Please note that this will delete only the data before the specified
date and that includes the rentals, sales, other logged data within the date
specified etc. Delete old data settings is shown in Fig 28.
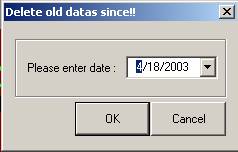
Fig 28.
Delete Old Data
Default Settings
Here a property sheet dialog box will be provided which
contains property pages such as General settings page, preferences page, print
settings page. The description regarding each page is given below.
General Settings Page
General settings page contain information such as
backup/automatic backup, Compact/automatic compacting the database etc. It also
contain the settings for bypassing the login screen and attaching the extension
application to the VideoManager. General settings page is as shown in the Fig
29.
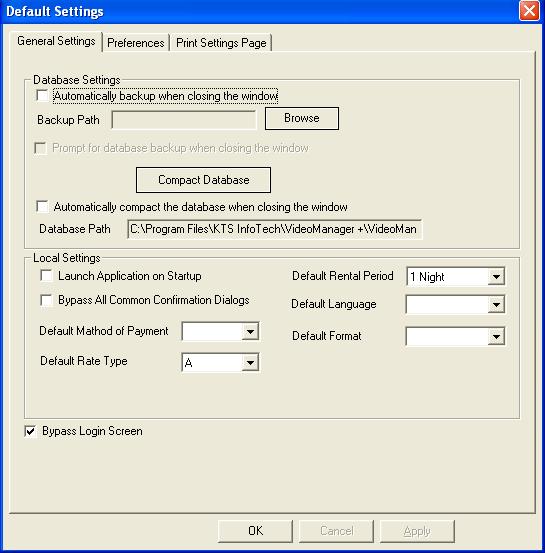
Fig 29. General Settings Page
Preferences Page
Preferences page contains customer default settings, mail server
settings and picture folder path settings. Customer default settings includes
membership type, default membership fee, default security deposit and print
membership form automatically. Mail server settings includes mail server
address. The default mail server port is assumed. Provision is also there to
set the picture path. Please note that if you Networked VideoManager
application, you have to set the Network computer name+ share folder +path
name. Eg : \\ComputerName\Pic .Preference
settings page is as shown in the Fig 30.
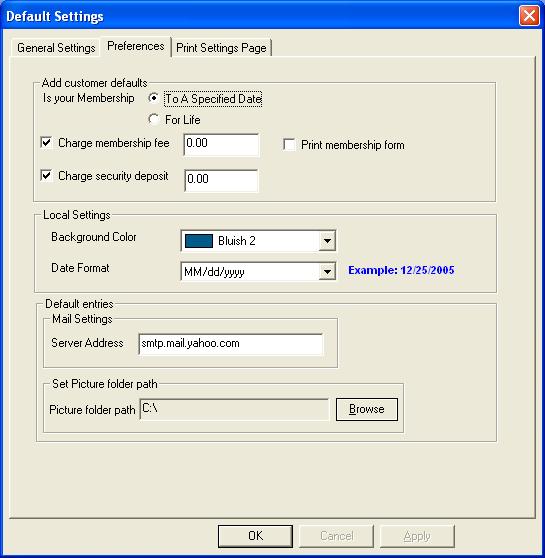
Fig 30.
Preferences Settings page
Print settings Page
Print settings page contains all the
default print settings for windows and DOS Mode. These include, number of
copies to print, rental receipt/sales receipt printing mode, print dialog box
by pass, mode of printing ie Windows or DOS mode, Receipt settings and default
receipt printer name. Receipt settings includes shop name, time, phone number,
footer text, closing day and spacing between the lines. Preference settings
page is as shown in the Fig 31.
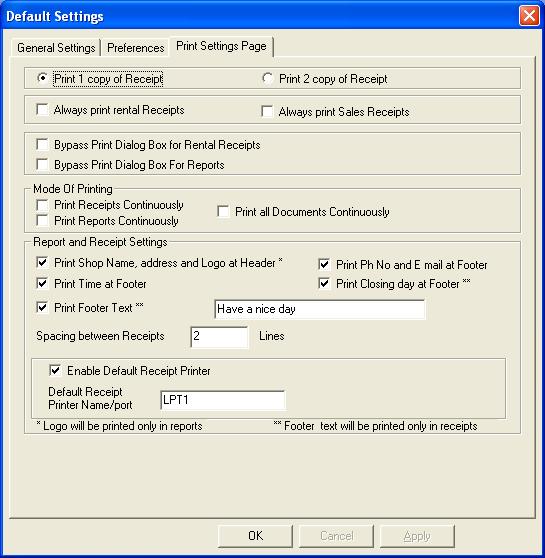
Fig 31. Print Settings Page
Setup wizard Settings
This will invoke the setup wizard. Setup wizard runs all the important
settings screen in one place so that user will get a chance to update all the
settings in less effort. Please note that if you click Cancel in any dialog box
the operation stops with that dialog box itself.